There are 128 digital slides (116.1 GB), categorized in 2 parts as follows:
Part I: Oral Histology, containing 41 digital slides.
Part II: Oral Pathology, containing 87 digital slides.
Image Data of digital slides with OHOP Guide and DS Viewer to observe digital slides are securely loaded in a USB for just plug and play. Installation is not required.
There is no need for cloud support. It can be always run without Wi-Fi.
There is a three-year warranty on the hardware. An unlimited warranty is provided on the data and software.
The OHOP Guide will provide you an access to find each digital slide.
The DS Viewer enables you to view, zoom in and out, navigate within thumbnails, delineate regions of interest, measure structures on screen, annotate structures, and capture to save images for further study.
Once the USB is plugged into your PC or laptop, a “OHOP” App is shown in the virtual CD Drive.
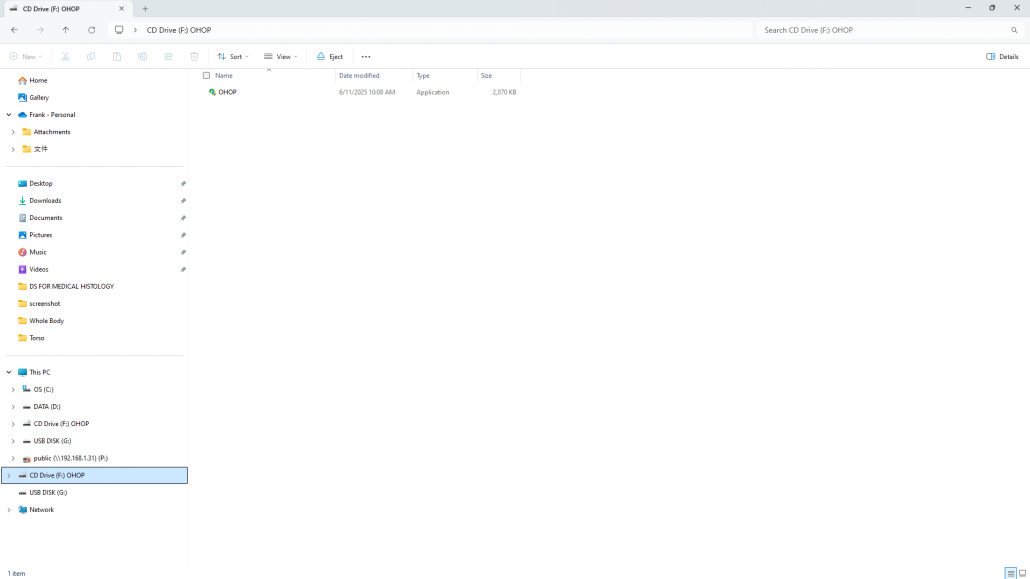
Click the “OHOP” App, a “OHOP Guide” file is opened.
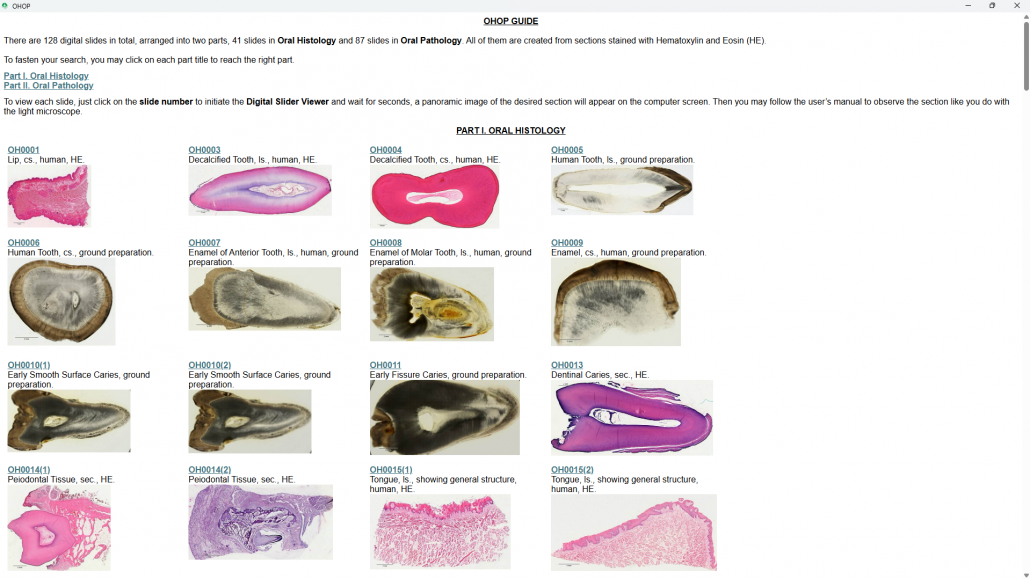
After viewing through the “OHOP Guide”, select either Part I or Part II.
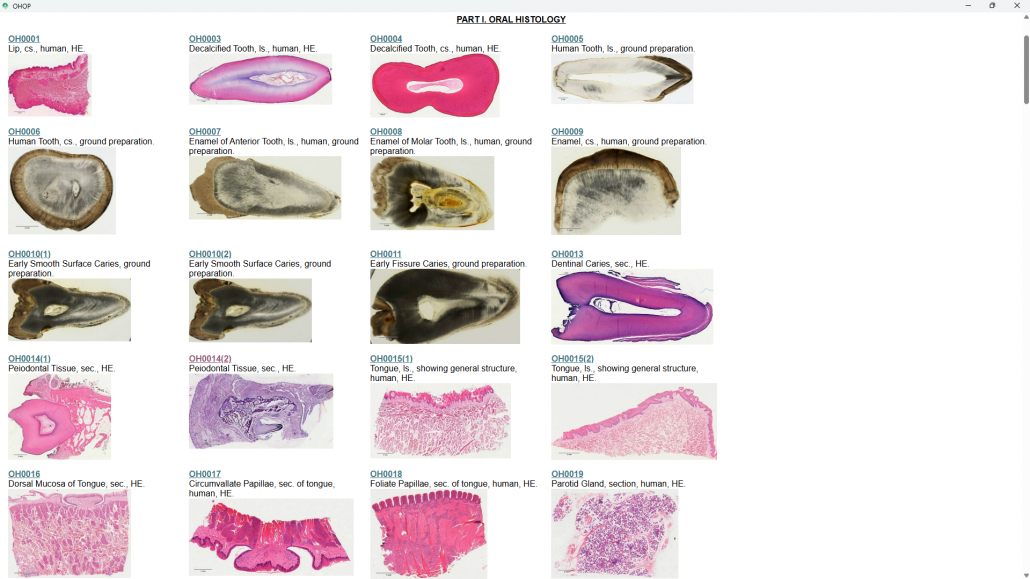
For example, here the “Part I. Oral Histology” is selected by clicking, then, the view will be moved to show the portion of the “PART I. ORAL HISTOLOGY”.

After viewing through all digital slides of the “Part I. Oral Histology”, select the slide to be observed by clicking the slide number.
For example, here the“OH0014(2)” is selected. The DS Viewer will be initiated.
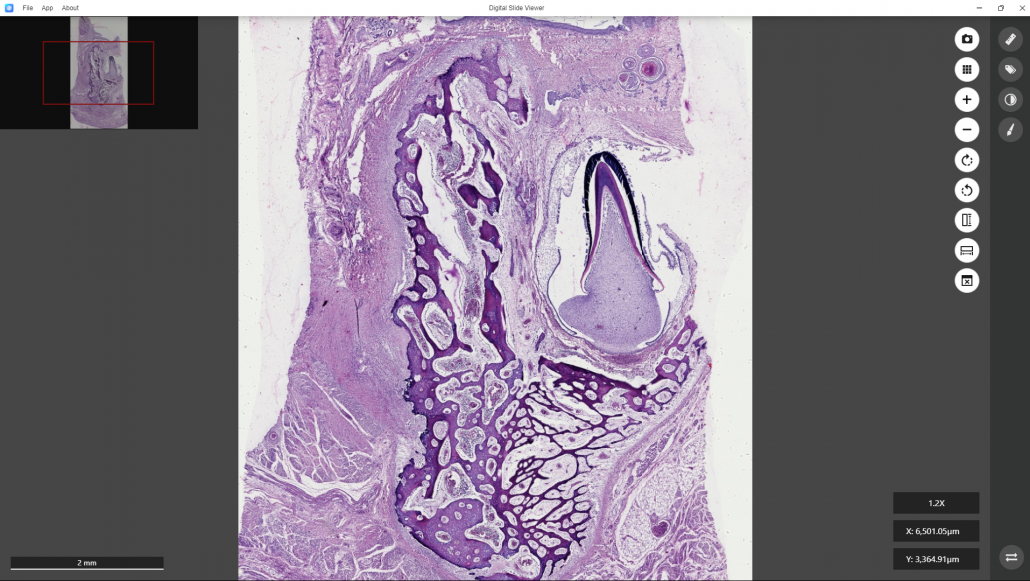
The whole section image of OH0014(2)will be brought into the window of the DS Viewer.
This is a digitized image of a sectioned developing tooth enveloped by periodontal tissue. The tooth erupt toward the right.
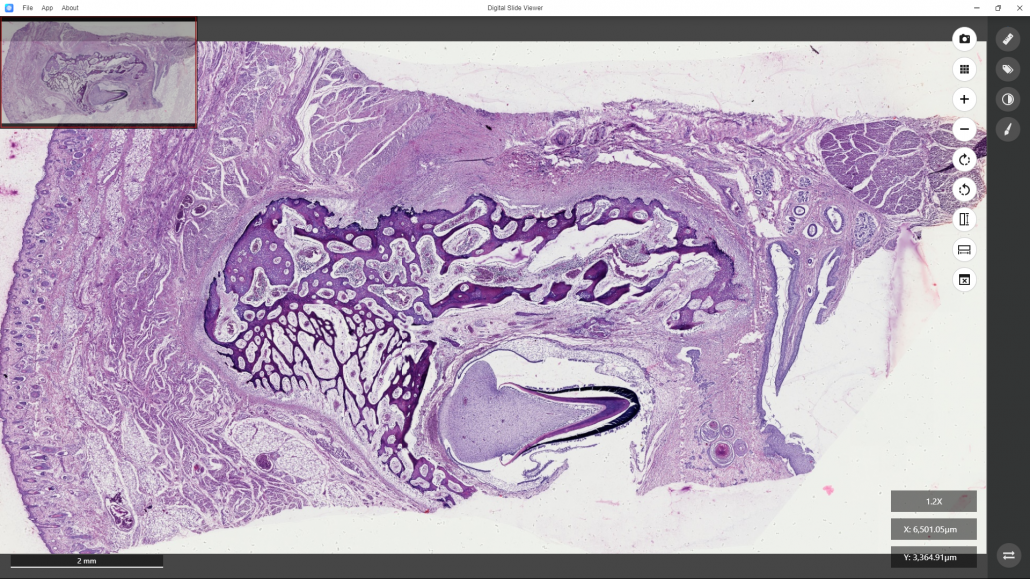
By clicking the “Rotate Toward Left” or “Rotate Toward Right” command at the right bar of the software, the image can be rotated to showthe tooth eruption toward the top. A small window at the top left corner shows the location of the enlarged image in the entire section.
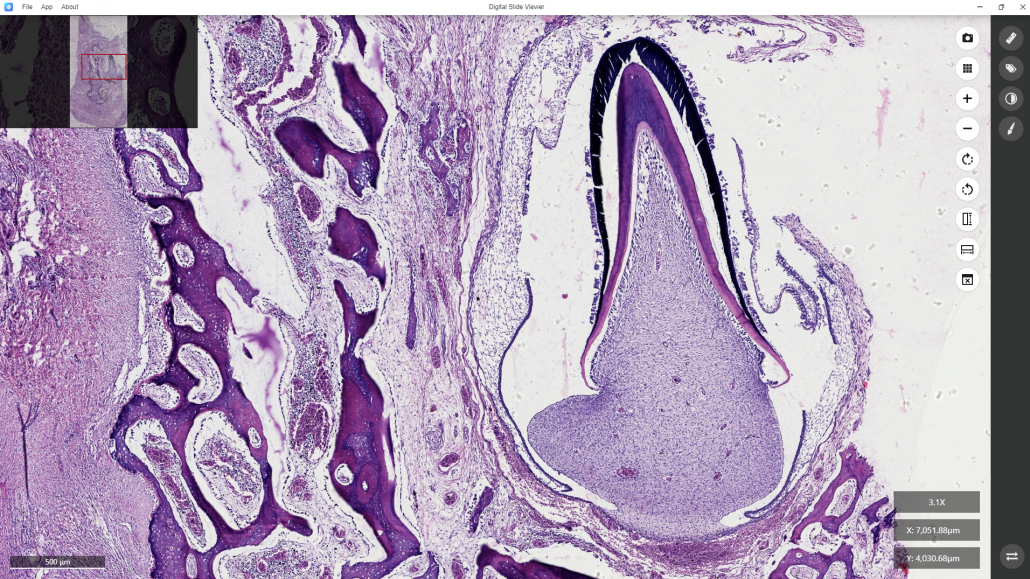
Here, for example, you want to observe the detailed structure of a developing tooth.
You may lock on the target and continue to enlarge the image by turning the mouse scroll wheel forward or clicking the “+” command at the right bar of the software, the image can be enlarged.
In contrast, turning the mouse scroll wheel backward or clicking the “-” command at the right bar of the software will shrink the image. Then the enlarged image is shown.
You may take a shot at it by clicking the “snapshot” command at the top right corner, then select the location where you want to save after giving a file name.
The default format of the photo is “png”, but you may change it as you desire.
At the end of observing this digital slide, if you want to switch to the other digital slide, just close the DS Viewer by clicking “X” at the top right corner of the window.
The view will be returned to the “Part I. Oral Histology” of “OHOP Guide”. Color change of “OH0014” indicates that this slide has just been observed.
At this moment, you may continue to select the other slide for more observation.
If you decide not to continue using the OHOP, just click the “X” at the top right corner of the window.
Detailed content of OHOP Catalogue can be downloaded for your needs.
For copy right protection, the original database is not allowed to be duplicated.
It is your risk of illegal violation to break the OHOP for obtaining the original database.